June 17, 2021
7 Best Methods for the Perfect Summer Pizza


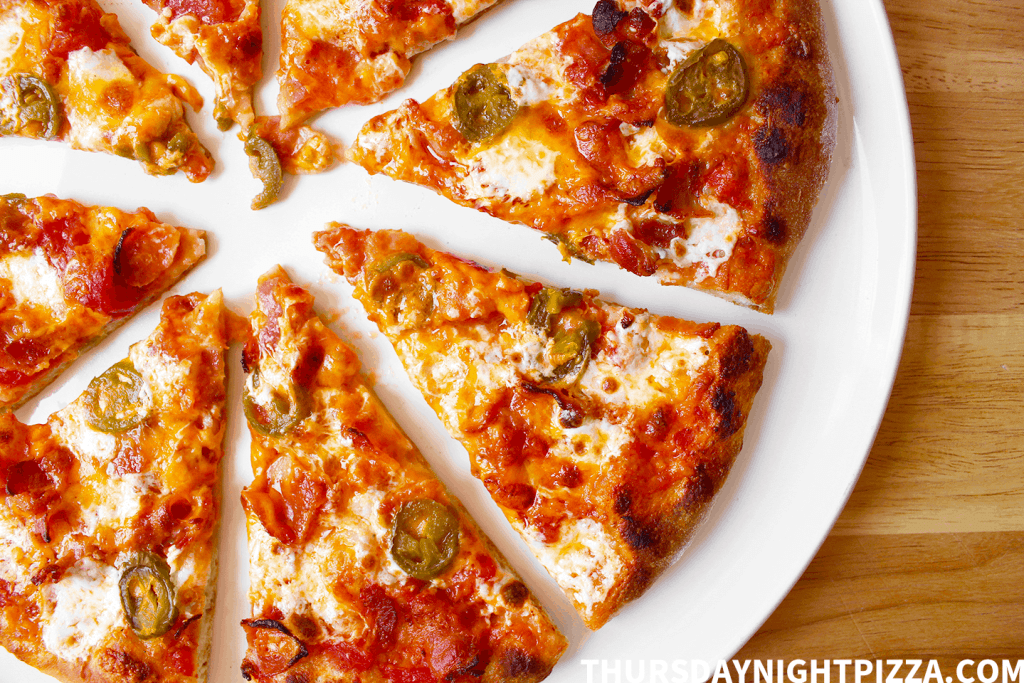
Delicious pizza from scratch isn’t only for gourmet chefs – it’s achievable for you, too! We asked our friend Peggy Paul Casella from Thursday Night Pizza to share her hottest tips for pulling off the ultimate homemade summer pie so you can turn your subpar slice into a mouthwatering masterpiece.
-
Grab the right tools
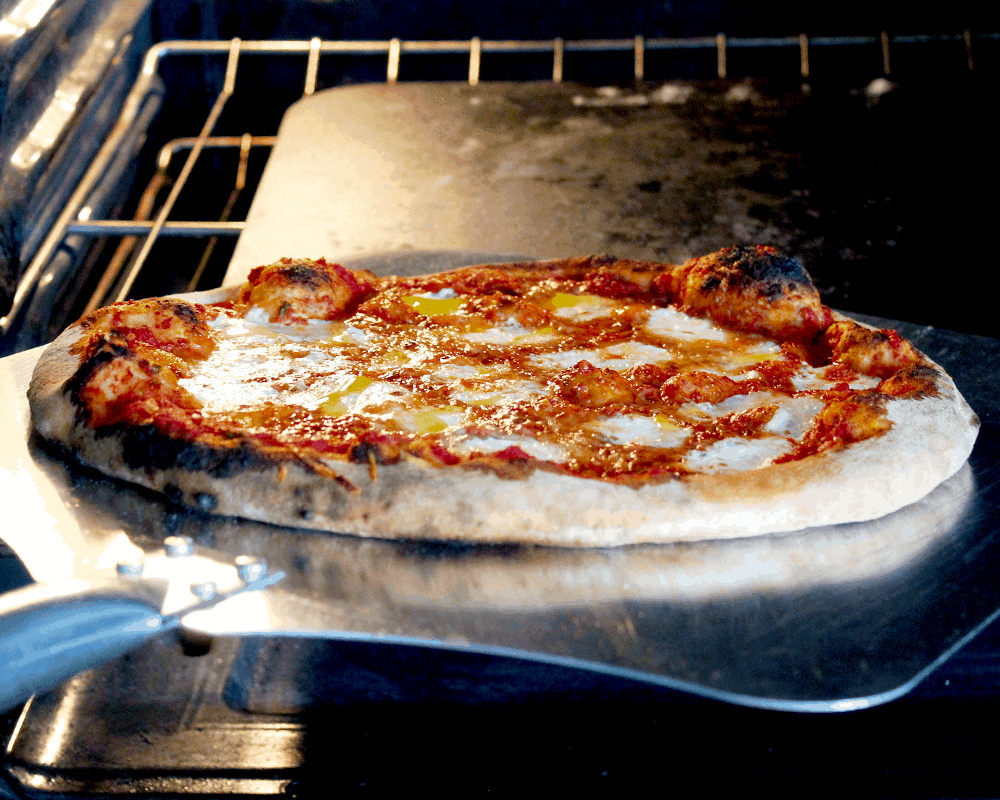
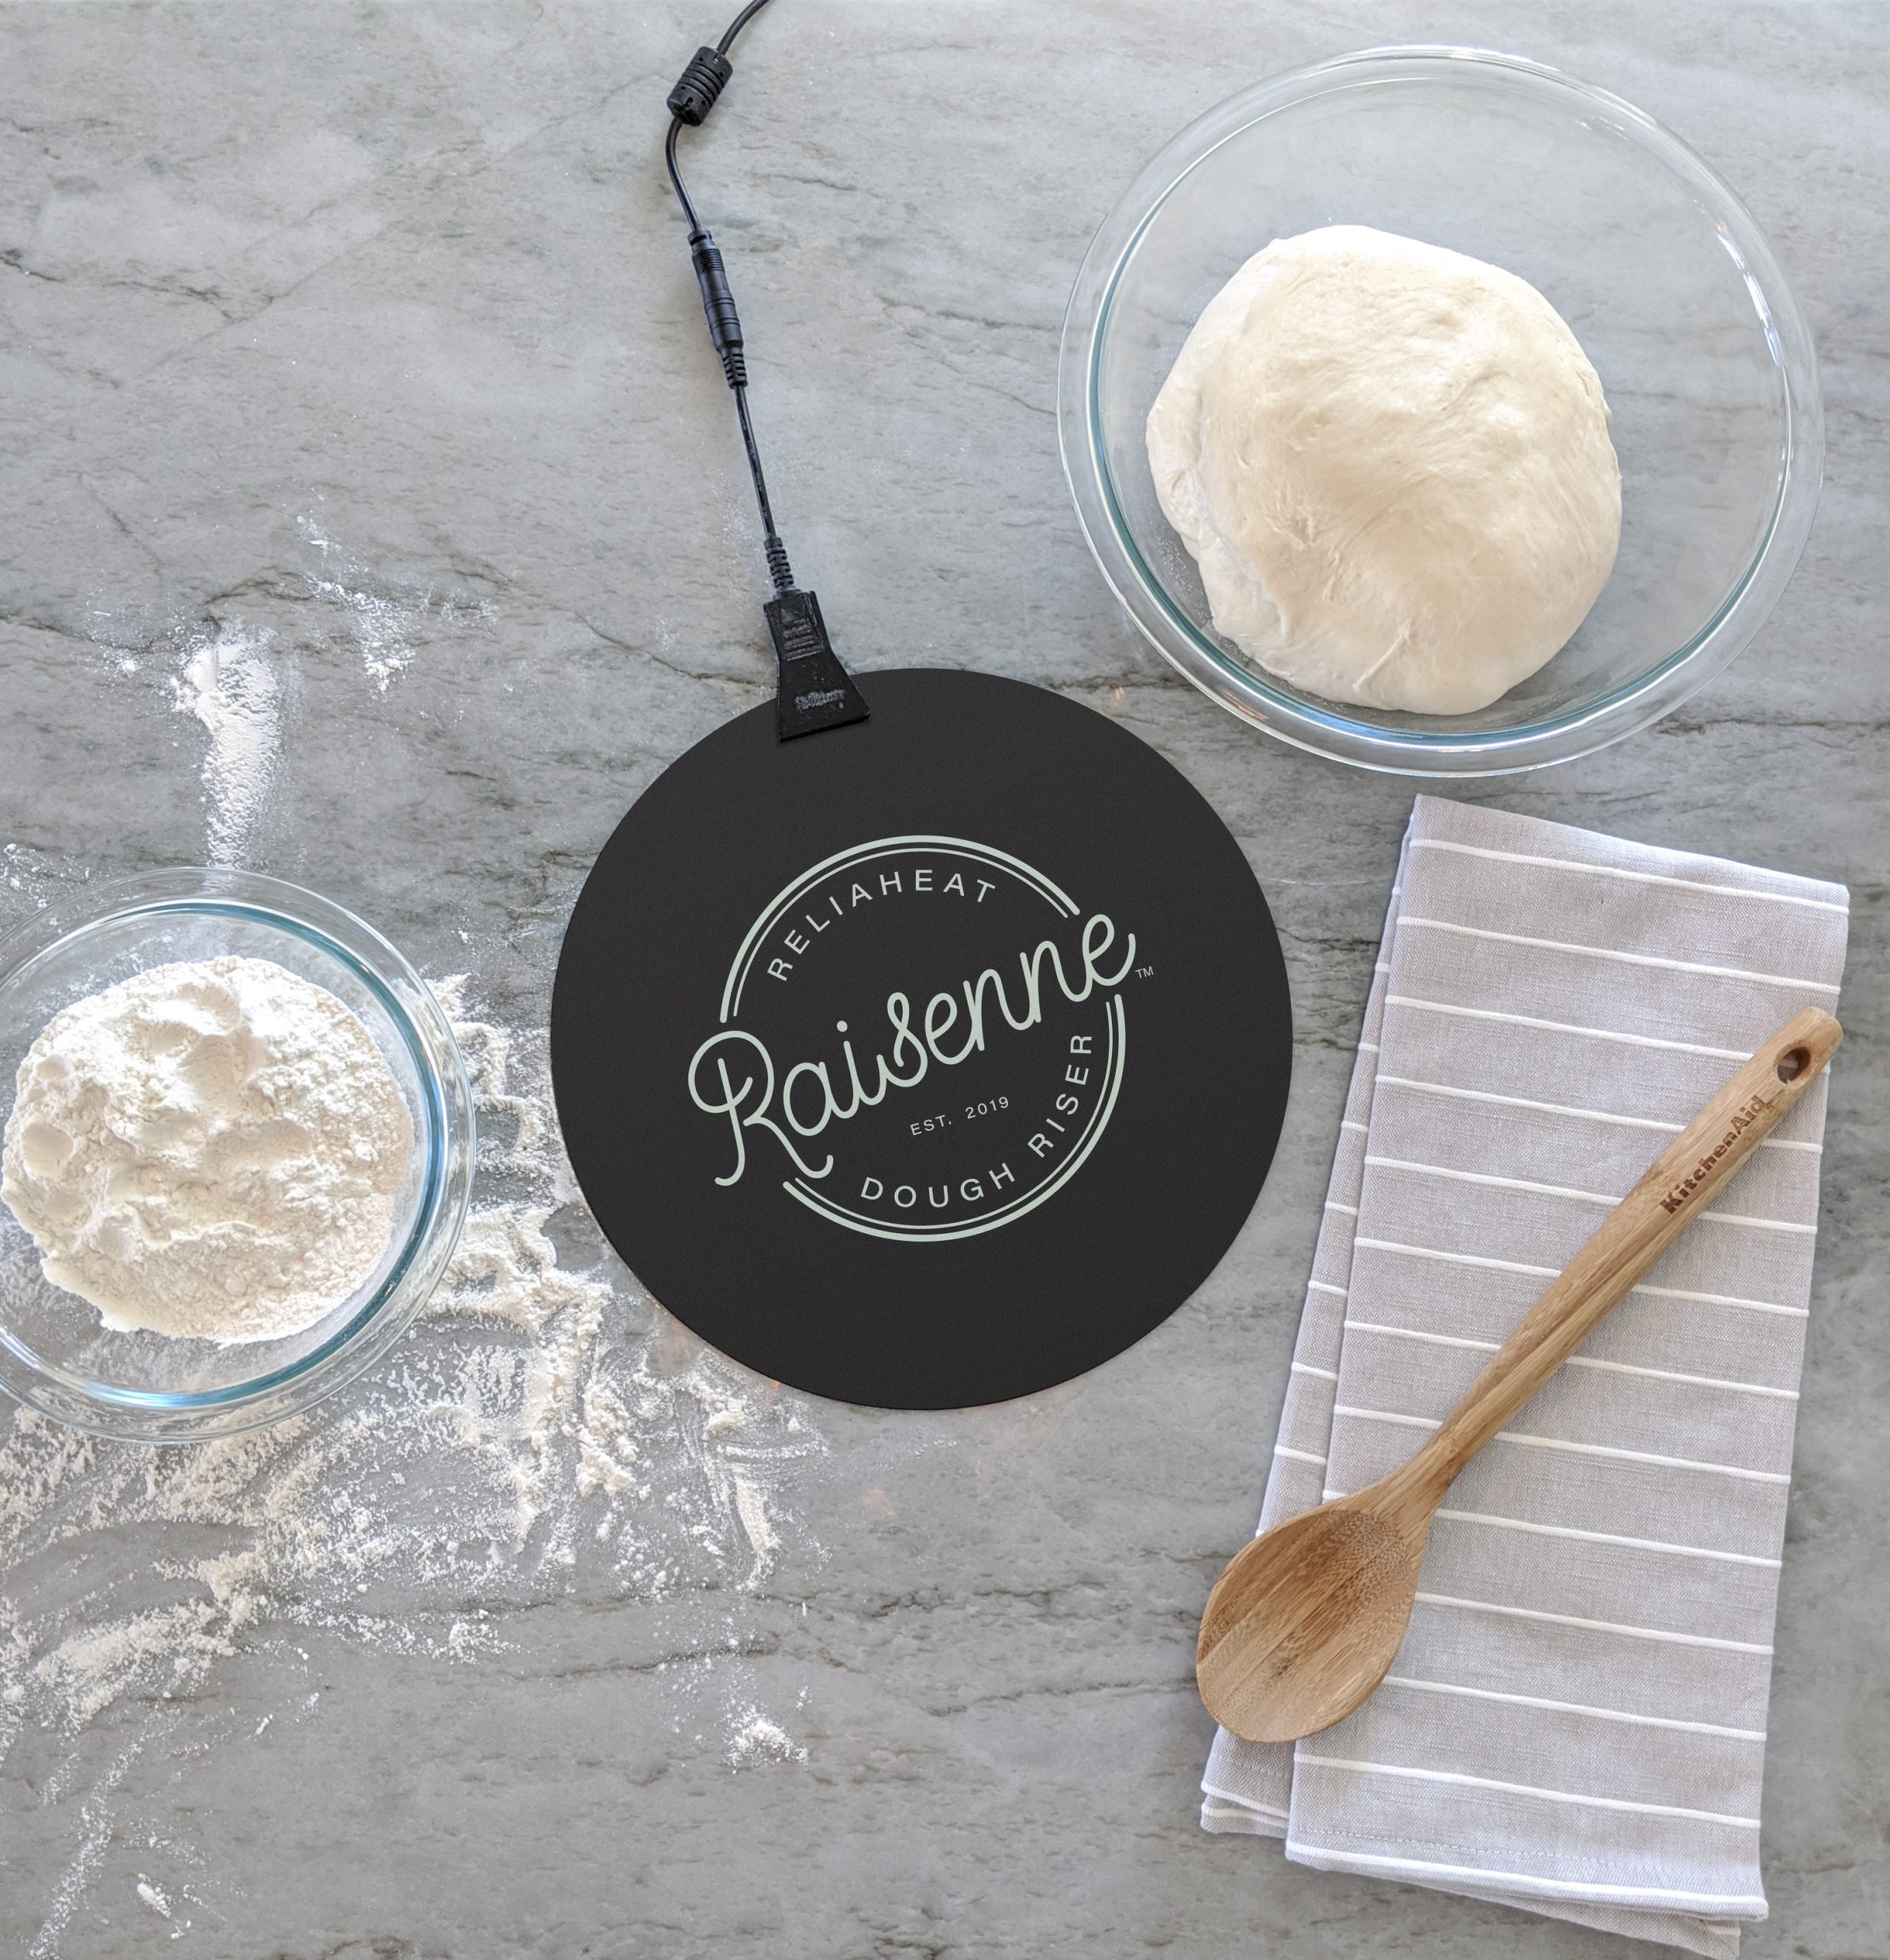
Believe it or not, you don’t need a pizza stone or fancy brick oven to make a tasty homemade pizza. While a stone or steel plate makes for a crispier crust, you can usually get away with the trusty baking sheet tucked away in your kitchen cupboard.
“I’ve had plenty of luck with my old, heavy-duty rimmed baking sheet,” Peggy says. “I prefer the dark metal, which makes for a better crust.”
And if you’re in a pinch, the Raisenne Dough Riser can cut your dough’s proofing time nearly in half – making weekday pizza nights totally feasible!
-
Skip the soggy crust

Nobody likes digging into a slice of pizza to find a soggy, doughy center. But what’s the solution?
“A hot, hot, hot oven!” Peggy says.
If you’re using a standard baking sheet, Peggy recommends preheating your oven to 500°F for about 45 minutes before cooking the pizza.
If cooking with a pizza stone or steel plate, adjust your oven rack to the bottom position and preheat to 500°F or the highest temperature your oven will go. After about 45 minutes to an hour, switch your oven to broil on high and wait another 10-15 minutes to ensure your oven is the hottest it can get before throwing your pizza in.
“The biggest reason people get that doughy center of their crust is because their oven just wasn’t hot enough or they didn’t bake it long enough,” Peggy says. “You want to bake it not just until the cheese is melted, but also until the top of the cheese is browned or slightly charred.”
-
Think outside the pizza box
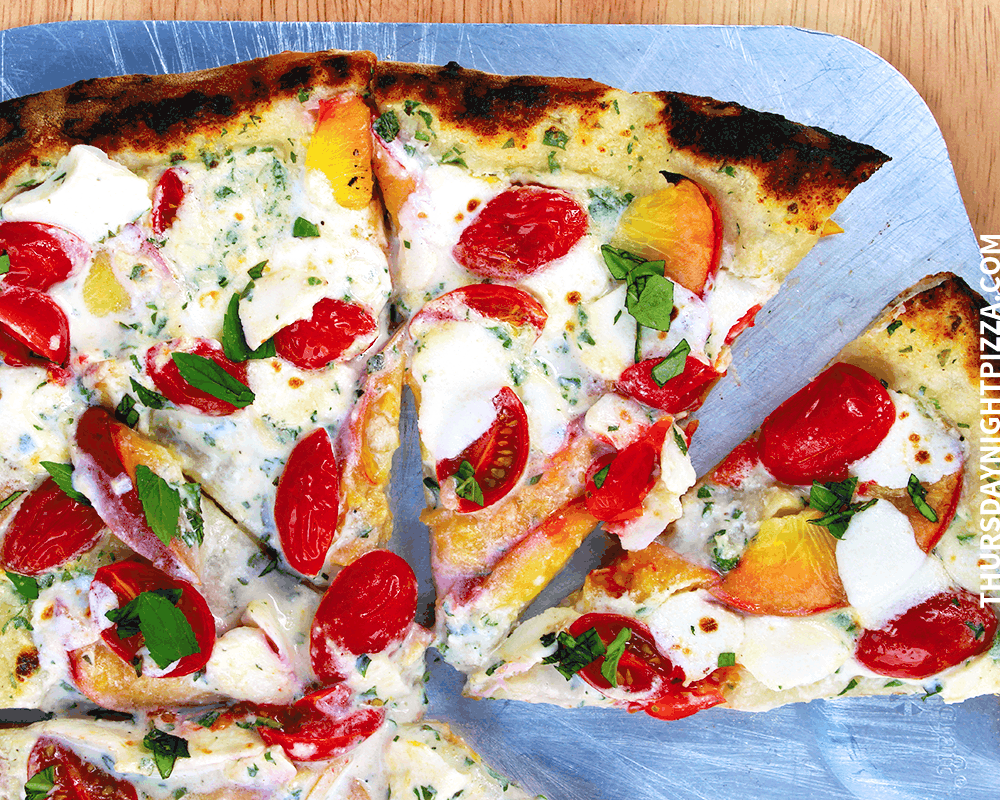
Stuck in a rut with the same cheese, pepperoni and sausage combo? Summer is the best season for fresh pizza ingredients because most vegetables are tender enough to go straight from the garden to your pizza dough. Peggy suggests checking out your local Community Supported Agriculture (CSA) location or farmer’s market, where you can often find a vibrant rainbow of pizza toppings like bell peppers, chives, spring onions, tomatoes and eggplants – all of which can be thinly sliced and sprinkled over a pizza raw with any cheese you like!
If you aren’t sure which ingredients work well together, simply pay attention to how the vegetables are arranged on displays at the local grocery or farmer’s market.
“I also recommend a book called The Flavor Bible,” Peggy adds. “It’s fantastic and how I have created a lot of the recipes on my blog.”
-
Mix up your cooking method

Have a summer camping trip coming up? If you’re looking to liven up your pizza-making experience even more, try cooking your pizza on the grill or over a campfire for a hint of smoky flavor. For the campfire method, Peggy suggests either using a steel plate or bringing a large wok lid to ensure the top of the pie gets cooked through.
“It’s actually a fantastic pizza,” Peggy says. “It’s as delicious as you think it would be, and it has that wood, smoky flavor.”
Check out Peggy’s campfire pizza blog post for more tips.
-
Experiment with different crust options

You might be surprised by how many pizza dough options are out there – cauliflower, gluten free keto, sourdough, summer squash, Neapolitan, to name a few – Peggy currently has more than 15 different dough recipes on her blog!
One of her most popular recipes is for a beer pizza dough, which doesn’t require yeast and can be done in less than 30 minutes.
“There are so many ways to make pizza dough!” Peggy said. “There’s a reason I have a whole blog dedicated to pizza.”
-
Prep like a pro
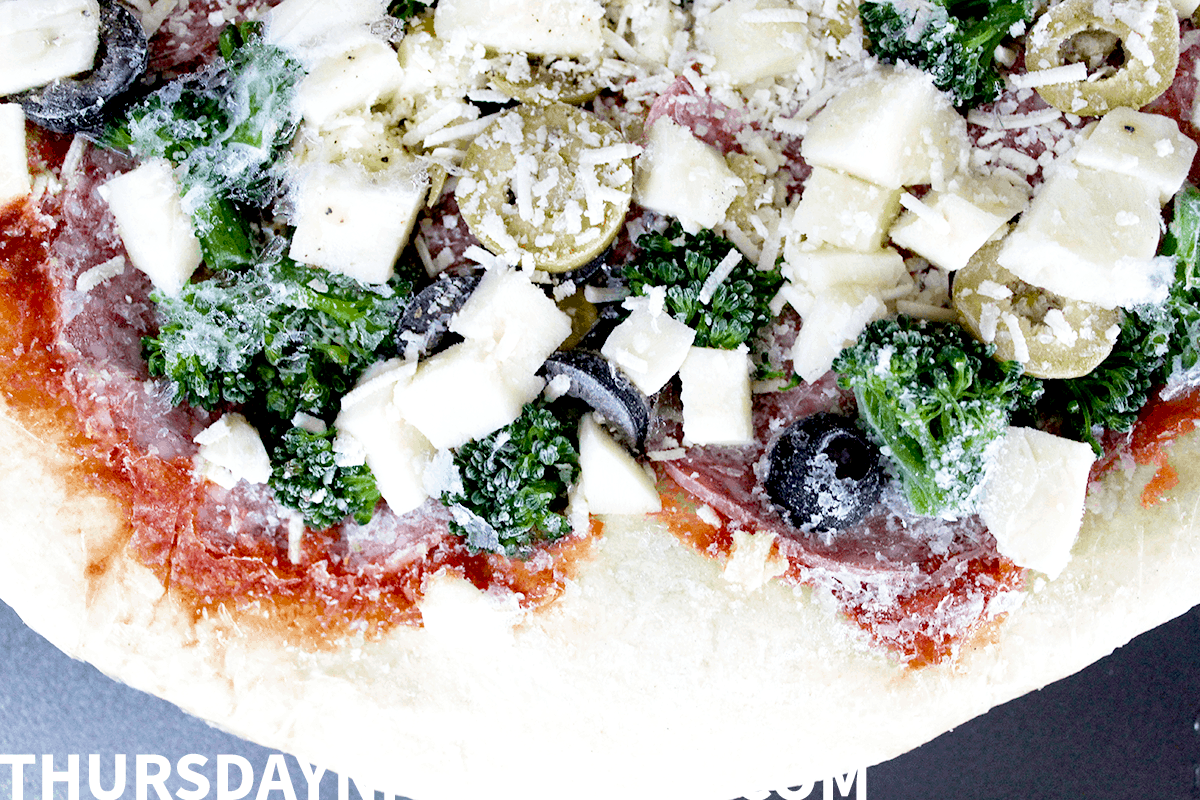
If you’re hosting a large group or simply want to prep your meals ahead of time, Peggy swears by her homemade frozen pizza recipe.
Simply make 2-3 batches of a variety of doughs, roll them into balls and stick them in the freezer, where she says they can stay fresh for up to three months. On the day of your party, take your dough balls out of the freezer at around 8 a.m. and allow them to defrost all day. By dinner time, you’ll be ready to stretch the dough, add toppings and put the pizzas in the oven.
“It’s so easy!” Peggy says. “I don’t do meal prepping very much, but everyone can do this.”
-
Don’t stress the leftovers
While some foodies are horrified by the thought of reheating leftover pizza in the microwave, Peggy has a more relaxed approach.
“I believe that in a pinch, if you don’t have time to preheat your oven, you should just put it in the microwave,” Peggy says. “The world is not going to end!”
That said, if you don’t mind tacking on a bit of cooking time, sticking your leftovers in the oven will almost always lead to a crispier result. When opting for this method, Peggy suggests broiling the pizza in a heavy-duty baking sheet for a slightly quicker turnaround.
If you make any of the pizza recipes highlighted in this post, we’d love to see! Share your photos on Instagram with the hashtag #bakedwithraisenne and tag us on Instagram. And if you’d like more tips and tricks for homemade pizza, be sure to check out Thursday Night Pizza and find Peggy on Instagram @thursdaynightpizza.