July 10, 2020
Science of Baking: How Yeast Works

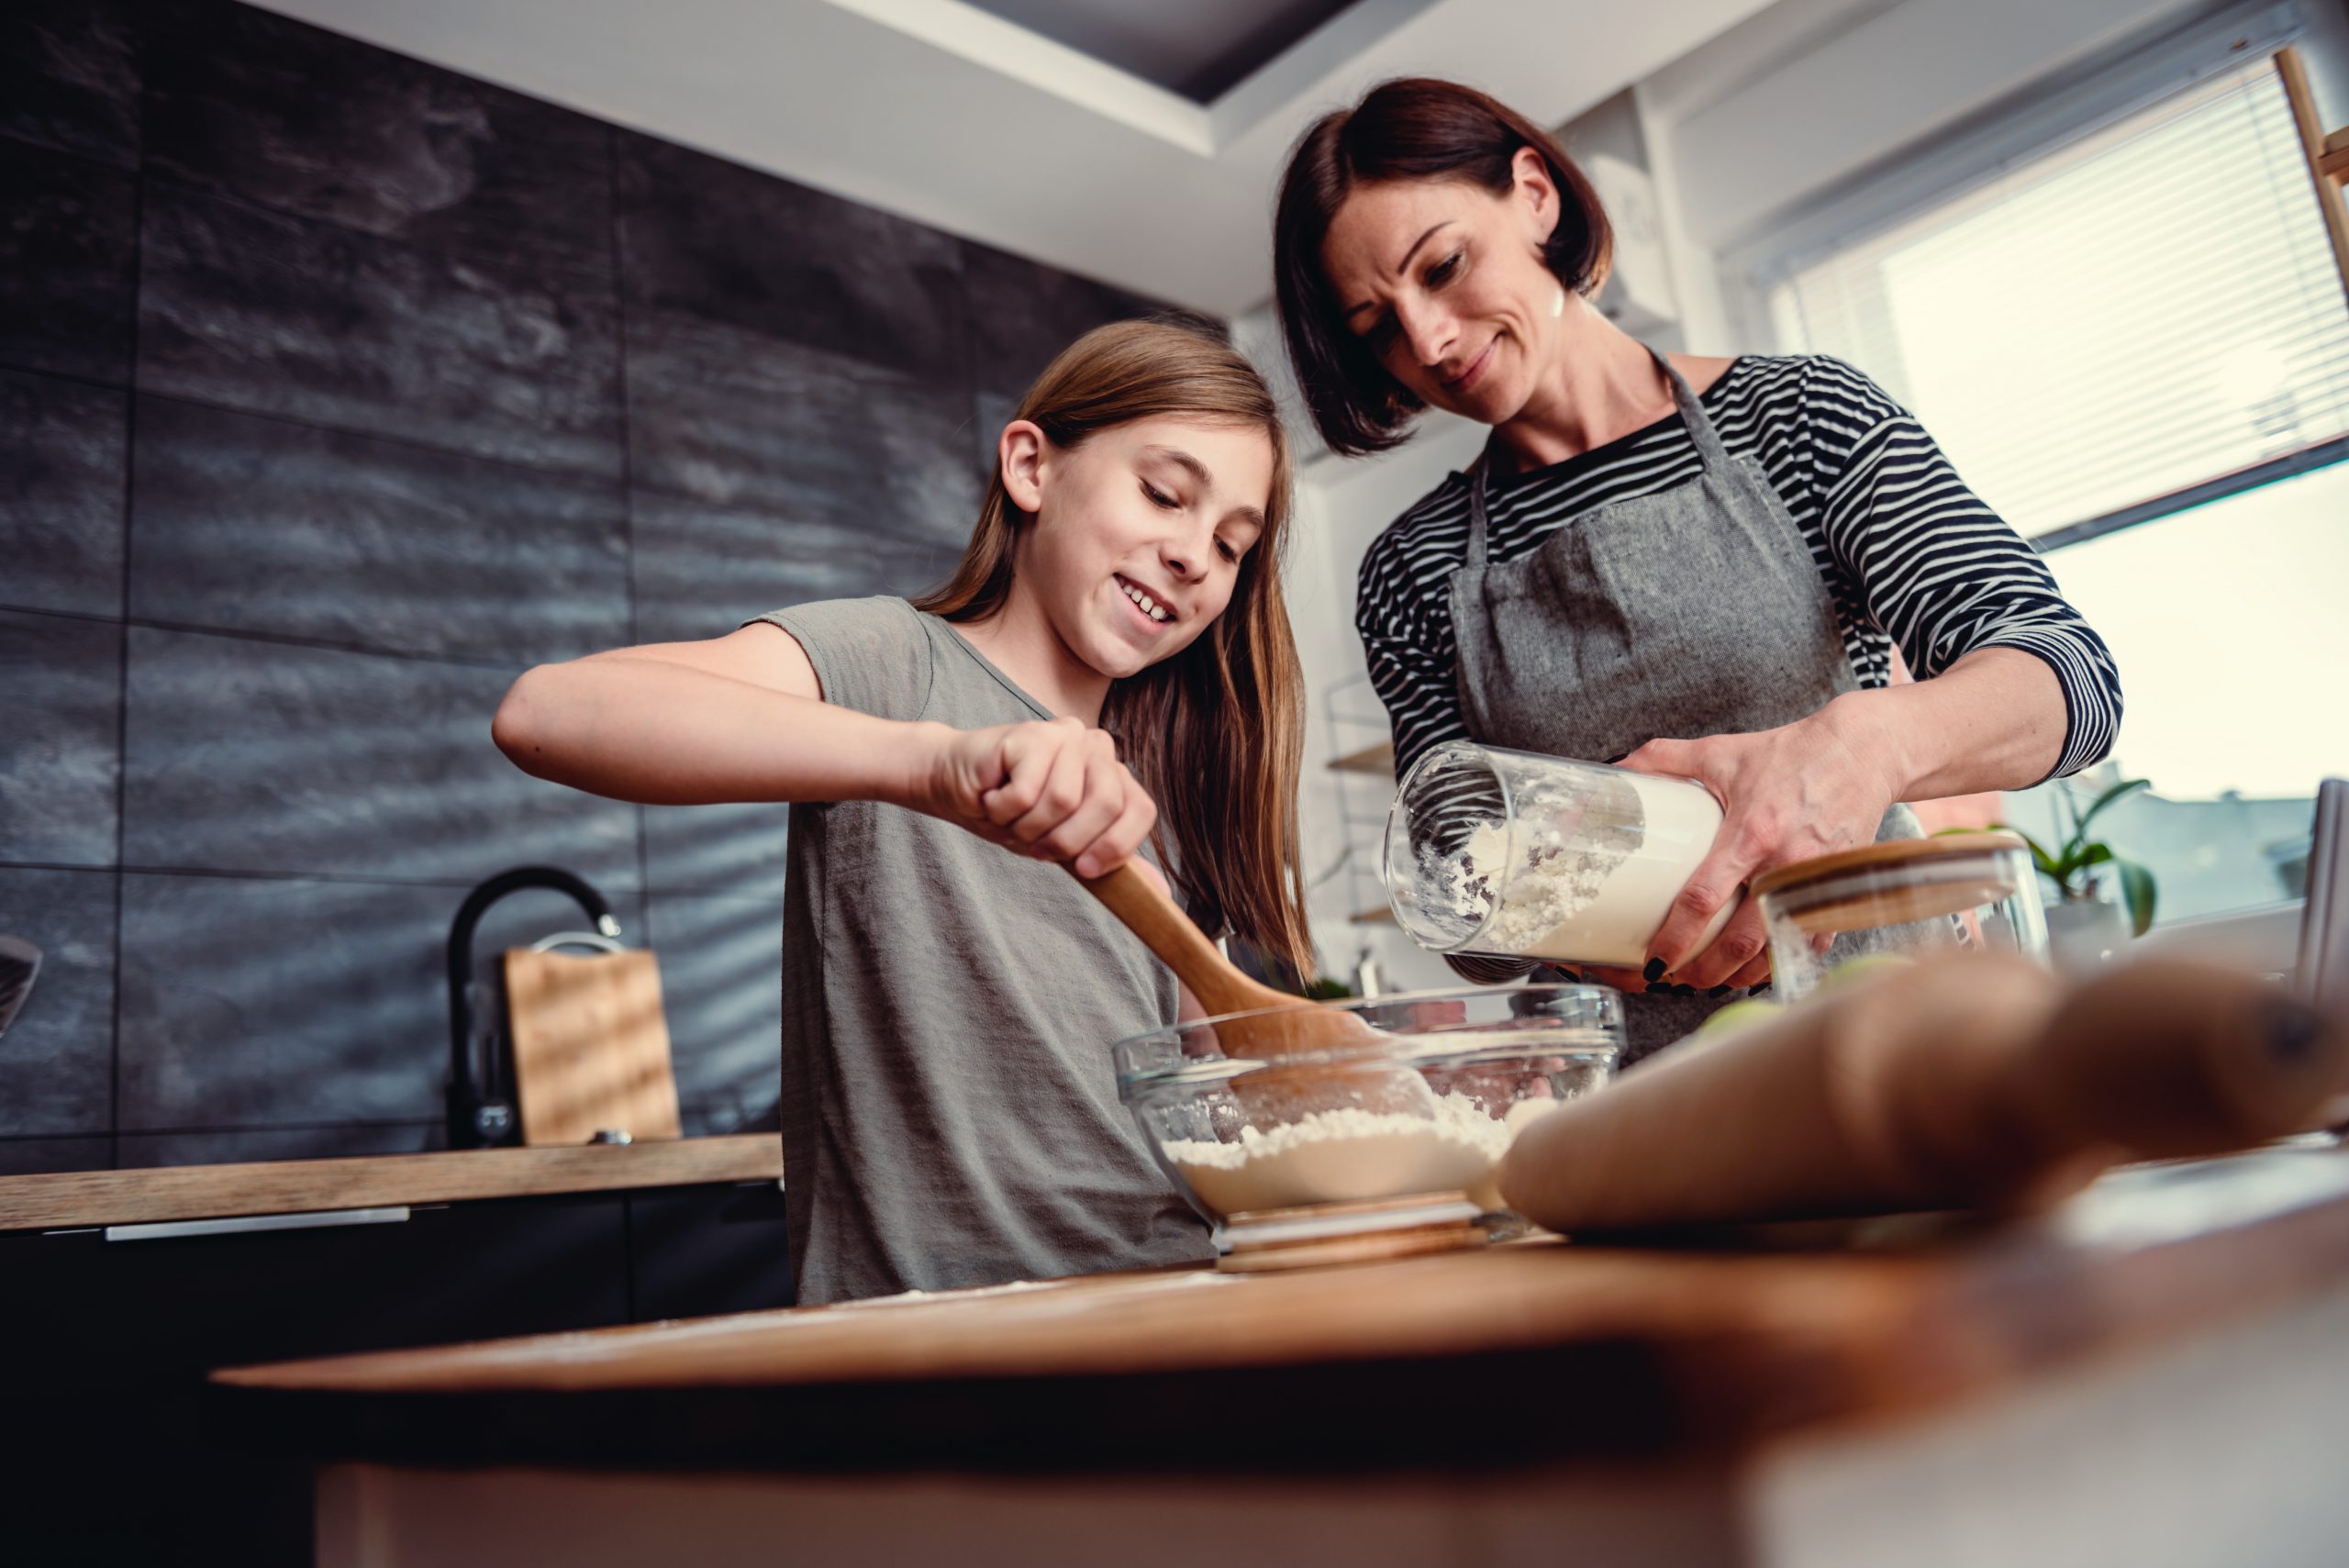
Yeast is an essential part of leavened dough recipes. Baking a yeast recipe with your child is a great opportunity for a fun science lesson. Outlined below is a mini lesson plan of things to show and say to your child, including different experiments to help them understand how yeast works.
What you will need:
- 1 jar or packet of yeast
- 1 glass measuring cup or a drinking glass
- Warm water
- Sugar
- A balloon
- A bottle
- Equipment and ingredients for a double recipe of Kids Can Make: Homemade Bread
- Raisenne Dough Riser (optional)
Before starting to bake, ask your child what they know about bread and how it’s made. If yeast is mentioned, that’s great! If not, it’s a perfect time to introduce the word and explain what it is.
SAY: Yeast are tiny living organisms that can be found everywhere – on your skin, on fruit and vegetable skin, and even in the air! There are many different kinds of yeast, with some even being harmful to humans, but each kind is a type of fungus. Yeast’s favorite food is sugar, which is where it gets its energy. Yeast’s favorite place to eat sugar is in a warm, moist environment, which is where it grows the most.
SHOW: Open a jar of yeast or yeast packet and let your child touch and/or smell it if they’d like.
SAY: All bread recipes need a “leavener” so the ingredients can better work together. Yeast is a leavener because it helps dough grow! When the dough rises, do you know what this is called? (Allow your child time to answer). When the dough has time to rest and rise before baking, it is called “proofing.”
SHOW: How yeast is a leavener by pouring ¼ cup warm water (105-115 degrees) in a glass, adding a packet of yeast, and also 2 tablespoons of sugar. Mix together and set aside for a bit – after a while there should be froth forming and a strong smell.
SAY: Bakers make this mixture to see if their yeast is still alive and ready for a bread recipe! The fermenting yeast mixture will grow to double in size as it begins the process of fermentation – what do you know about fermentation? (If the child is younger, you may want them to practice saying “fermentation.” Allow them time to answer.) Fermentation is a chemical change that happens when yeast creates enzymes and eats the sugar in the dough – remember, yeast’s favorite food is sugar! The little enzymes then turn the sugar the yeast has eaten into alcohol and carbon dioxide gas, which is the process of fermentation.
SHOW: Allow your child to observe the froth and smell the fermenting yeast mixture. Point out the bubbles in the mixture.
SAY: What do you think happens to the bubbles on the fermenting yeast? (Allow your child time to respond. The answer is that they eventually pop!)
SHOW: Cut a loaf of bread in half and show your child the inside.
SAY: What do you see? (Hopefully they say it looks like a sponge or that they see bubbles). Why do the bubbles in the bread not pop like the bubbles on the proofing yeast? (Allow your child time to respond. The answer is that they’re inside the bread!) What is it about the bread that keeps the bubbles inside? (Allow your child time to respond. The answer is that the flour mixed with water helps hold the bubbles inside.)
To better show your child how proofing creates carbon dioxide gas, below is another experiment you can do together.
SHOW: Mix the same fermenting yeast mixture as above in a bottle and put a balloon over the opening of the bottle. Set the bottle aside and come back later to see the balloon rising up with carbon dioxide gas as the yeast starts to expand.
SAY: Do you remember what fermentation is? (If not, that’s okay! Take time to reexplain it.) Fermentation is a chemical change that happens when yeast creates enzymes and eats the sugar in the dough – remember, yeast’s favorite food is sugar! The little enzymes then turn the sugar the yeast has eaten into alcohol and carbon dioxide gas, which is what is in the balloon. The yeast mixture created carbon dioxide gas! The gas is what makes sourdough bread get bigger and makes the bread have holes in it.
SAY: Now that you know how yeast works, let’s make some bread!
Finish off the science lesson for your child by showing how heat affects proofing by baking some bread.
SHOW: Using Food Network’s homemade bread recipe for kids, double the recipe, and help your child follow it. In step 3 of the recipe, divide the dough in half if you have a Raisenne Dough Riser. You can use it to show your child how consistent heat helps speed up the proofing process by proofing two pans of dough – 1 with Raisenne and 1 without. You can shop here to get your very own Raisenne Dough Riser.
SAY: When we let the yeast dough rise, it’s called proofing. Heat affects yeast by speeding things up. With fermentation, as the temperature gets hotter, the yeast enzymes get faster at turning sugar into alcohol and carbon dioxide gas.
SHOW: Once bread is baked, show a slice from above (point out holes).
SAY: Remember the bubbles the yeast created? The heat of the oven makes the carbon dioxide gas and alcohol go away so you’re left with yummy bread.
Ultimately, teaching your child about how yeast works helps them better understand the process of making a leavened dough recipe. Moreover, baking a recipe together has an educational yet delicious outcome!
If you use this mini lesson plan to help teach your kid(s) about yeast, we’d love to see! Share a photo with the hashtag #bakedwithraisenne and tag us on Instagram.